Benartex Ambassador Project: Quarter 3 - Pet Bed Puff Quilt Tutorial
Pet Bed Puff Quilt
Have you seen a Puff Quilt, also known as a Biscuit Quilt? Did you think they were too time intensive to make? What if I told you they can be made smaller, and your pet will absolutely love it! I had this idea a couple years ago to make a puff quilt bed for my dogs. They LOVE them! When Benartex asked me to do a tutorial project, I knew exactly what I wanted to show you all what to make. This pattern is based off of a 4” square, and can easily be enlarged or shrunk to whatever size your fur baby needs! I hope you enjoy making your pet a fun handmade bed.
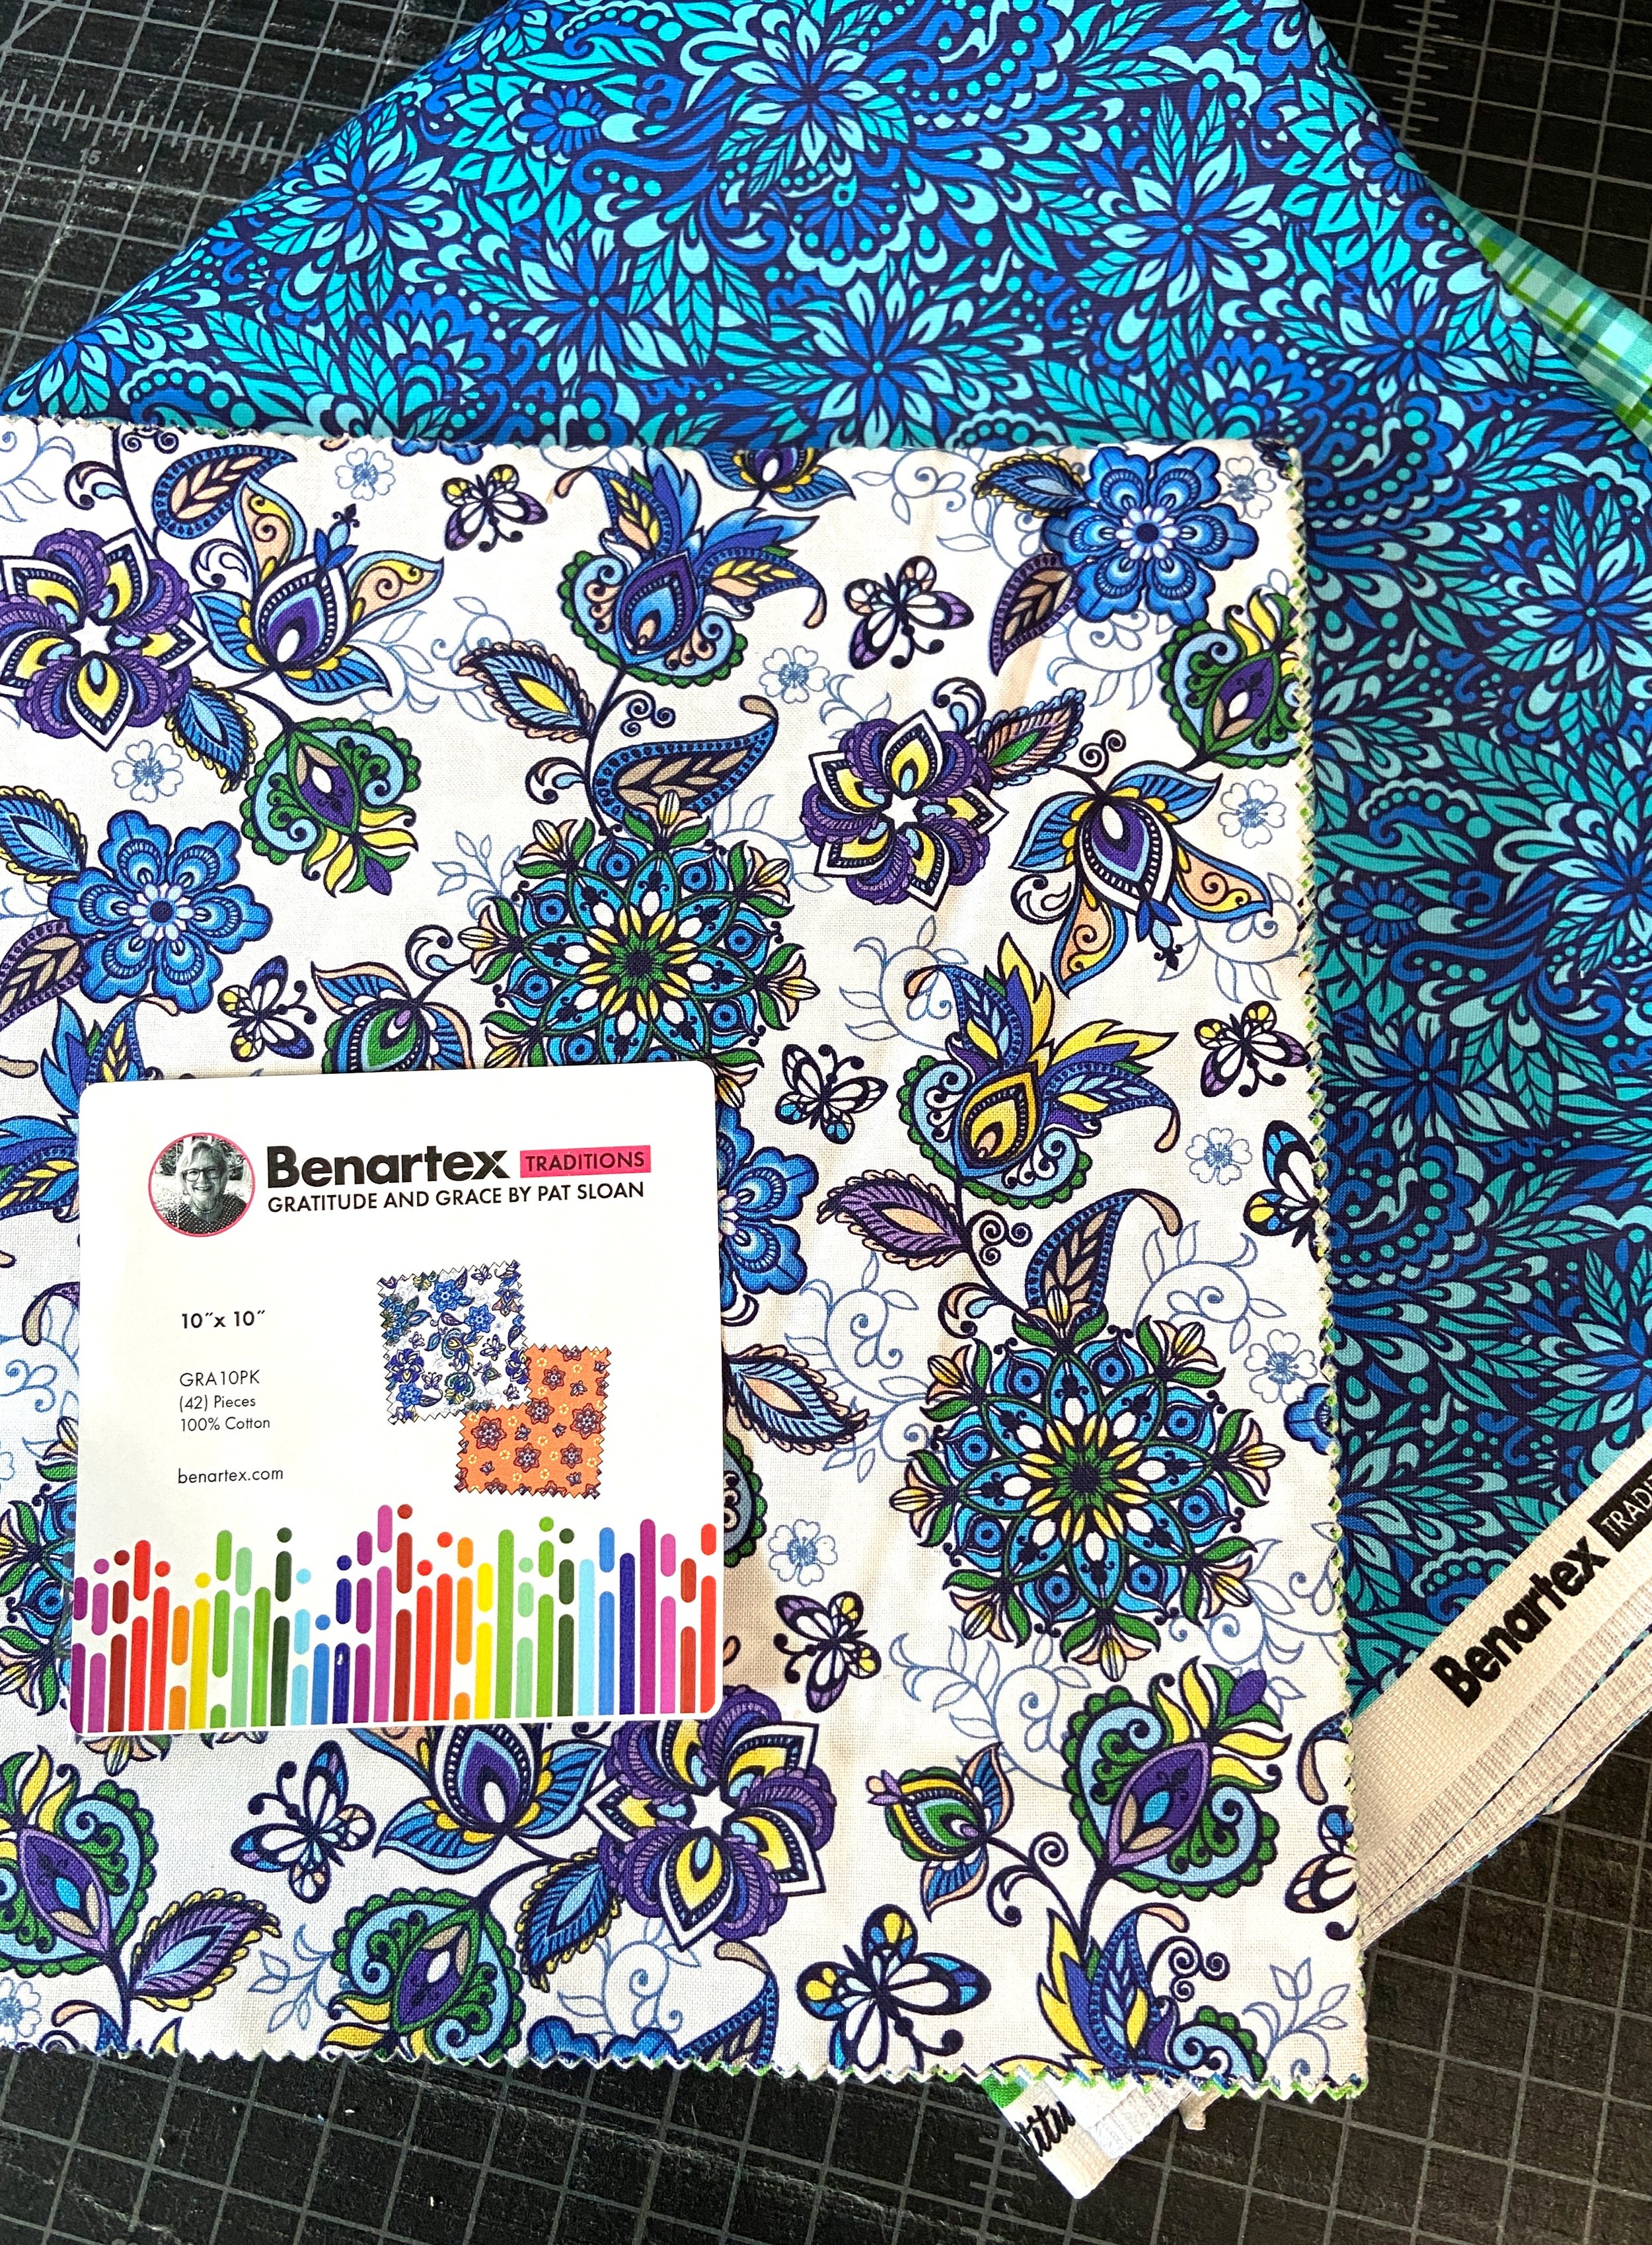
Fabric Pull - Using Benartex’s Gratitude and Grace fabric line, I created this adorable puff quilt pet bed.
Here’s what you’ll need to create this project.
Determining your size: This bed’s finish size is based on 4” squares. To determine how many squares you need, take the overall dimensions of your bed or crate and divide it by 4.
For example the bed I made was for a 24” x 20” pet crate. Which makes the quilt 6 squares by 5 squares. Total of 30 Squares.
Fabric Requirements:
5” x 5” Visible top squares - 30 Squares
4.5” x 4.5” Inside squares (these can be scrap fabrics!) - 30 Squares
32” x 28” Backing - I added 4 inches to each side of the quilt. Your backing is also going to be your binding.
You will also need PolyFil or I am using cut offs from previous projects to fill my puffs.
For the squares you can use pre cuts! Grab a 5x5” or a 10 x 10” pack and save your time on cutting! This is also a great way to use your scraps! I’m using scraps from previous Benartex projects for the interior squares.
Construction:
First, you will be creating all your puffs. You will need (1) of your 4.5” square and (1) of your 5” square.
Lay your 4.5” square right side down, and take your 5” square right side up. Align a corner of both squares together. Using a ¼ seam allowance, place your squares under your sewing machine foot and sew a ½”. Once you have your two squares attached, align the next corners together. This will create a small pleat, try to get the pleat as close to the center of the square as possible. Continue this method for 3 of the four sides of the square.
Scroll through the photos below to see the process of creating the puffs. *Do this construction procedure for all of your puffs.
Second, now that you have all of your puffs made it is time to lay them out. You can do an organized pattern, create a gradient, or have it completely random. That is the beauty of this project, you can have fun with the simplistic design. Once you have your layout finalized it is time to sew the rows together.
Using a ¼” seam sew your rows together. Making sure you keep the open side of the puff to the right.
Once you have ALL your rows together it’s time for the next step!
Third, take your first row and fill it with your filling (PolyFil or Scraps). They should be full enough to take shape, but not so full you can't close the final side.
Once you have your first row stuffed, sew a scant ¼” seam along the open side, creating pleats as you go from one square to the next.
Next, using a ¼” seam attach your second row of unstuffed puffs. Next, stuff the second row of puffs, and close the openings the same way you did for the first row. (With a scant ¼” seam).
Continue this process for the remaining rows. On the final row you will sew a ¼” seam to close the puffs.
Putting the Quilt Together
Now that you’ve completed your top it’s time to create a quilt sandwich and tack quilt your puff quilt.
Iron your backing and lay it face down on a table or the floor. It is helpful to tape down the corners to hold the backing in place.
Next, lay a piece of batting down onto the backing, making sure it is flat and has no bumps.
Finally, lay the top right side up on top of the batting. Pin the three layers together, this will hold your quilt together as you work on tacking your quilt.
Quilting your puff quilt pet bed:
There are a few ways to tack your pet bed; tying by hand or by machine - straight stitches or a tack stitch. I used my machine’s zig zag stitch to create small tacks between each puff. Since this is a dog bed, my pup will be rough on it and I wanted to make sure it held.
Trimming and Binding your puff quilt pet bed:
Lay your quilted pet bed flat on a table or the floor. Cut the excess batting and backing around your quilt top, using scissors or a rotary cutter.
I used 2.25” binding strips and made binding. Attached the binding to the backside of the puff quilt with a quarter inch seam. Then, folded and clipped the binding to the front side. I machine sewed to attach the binding to the front.
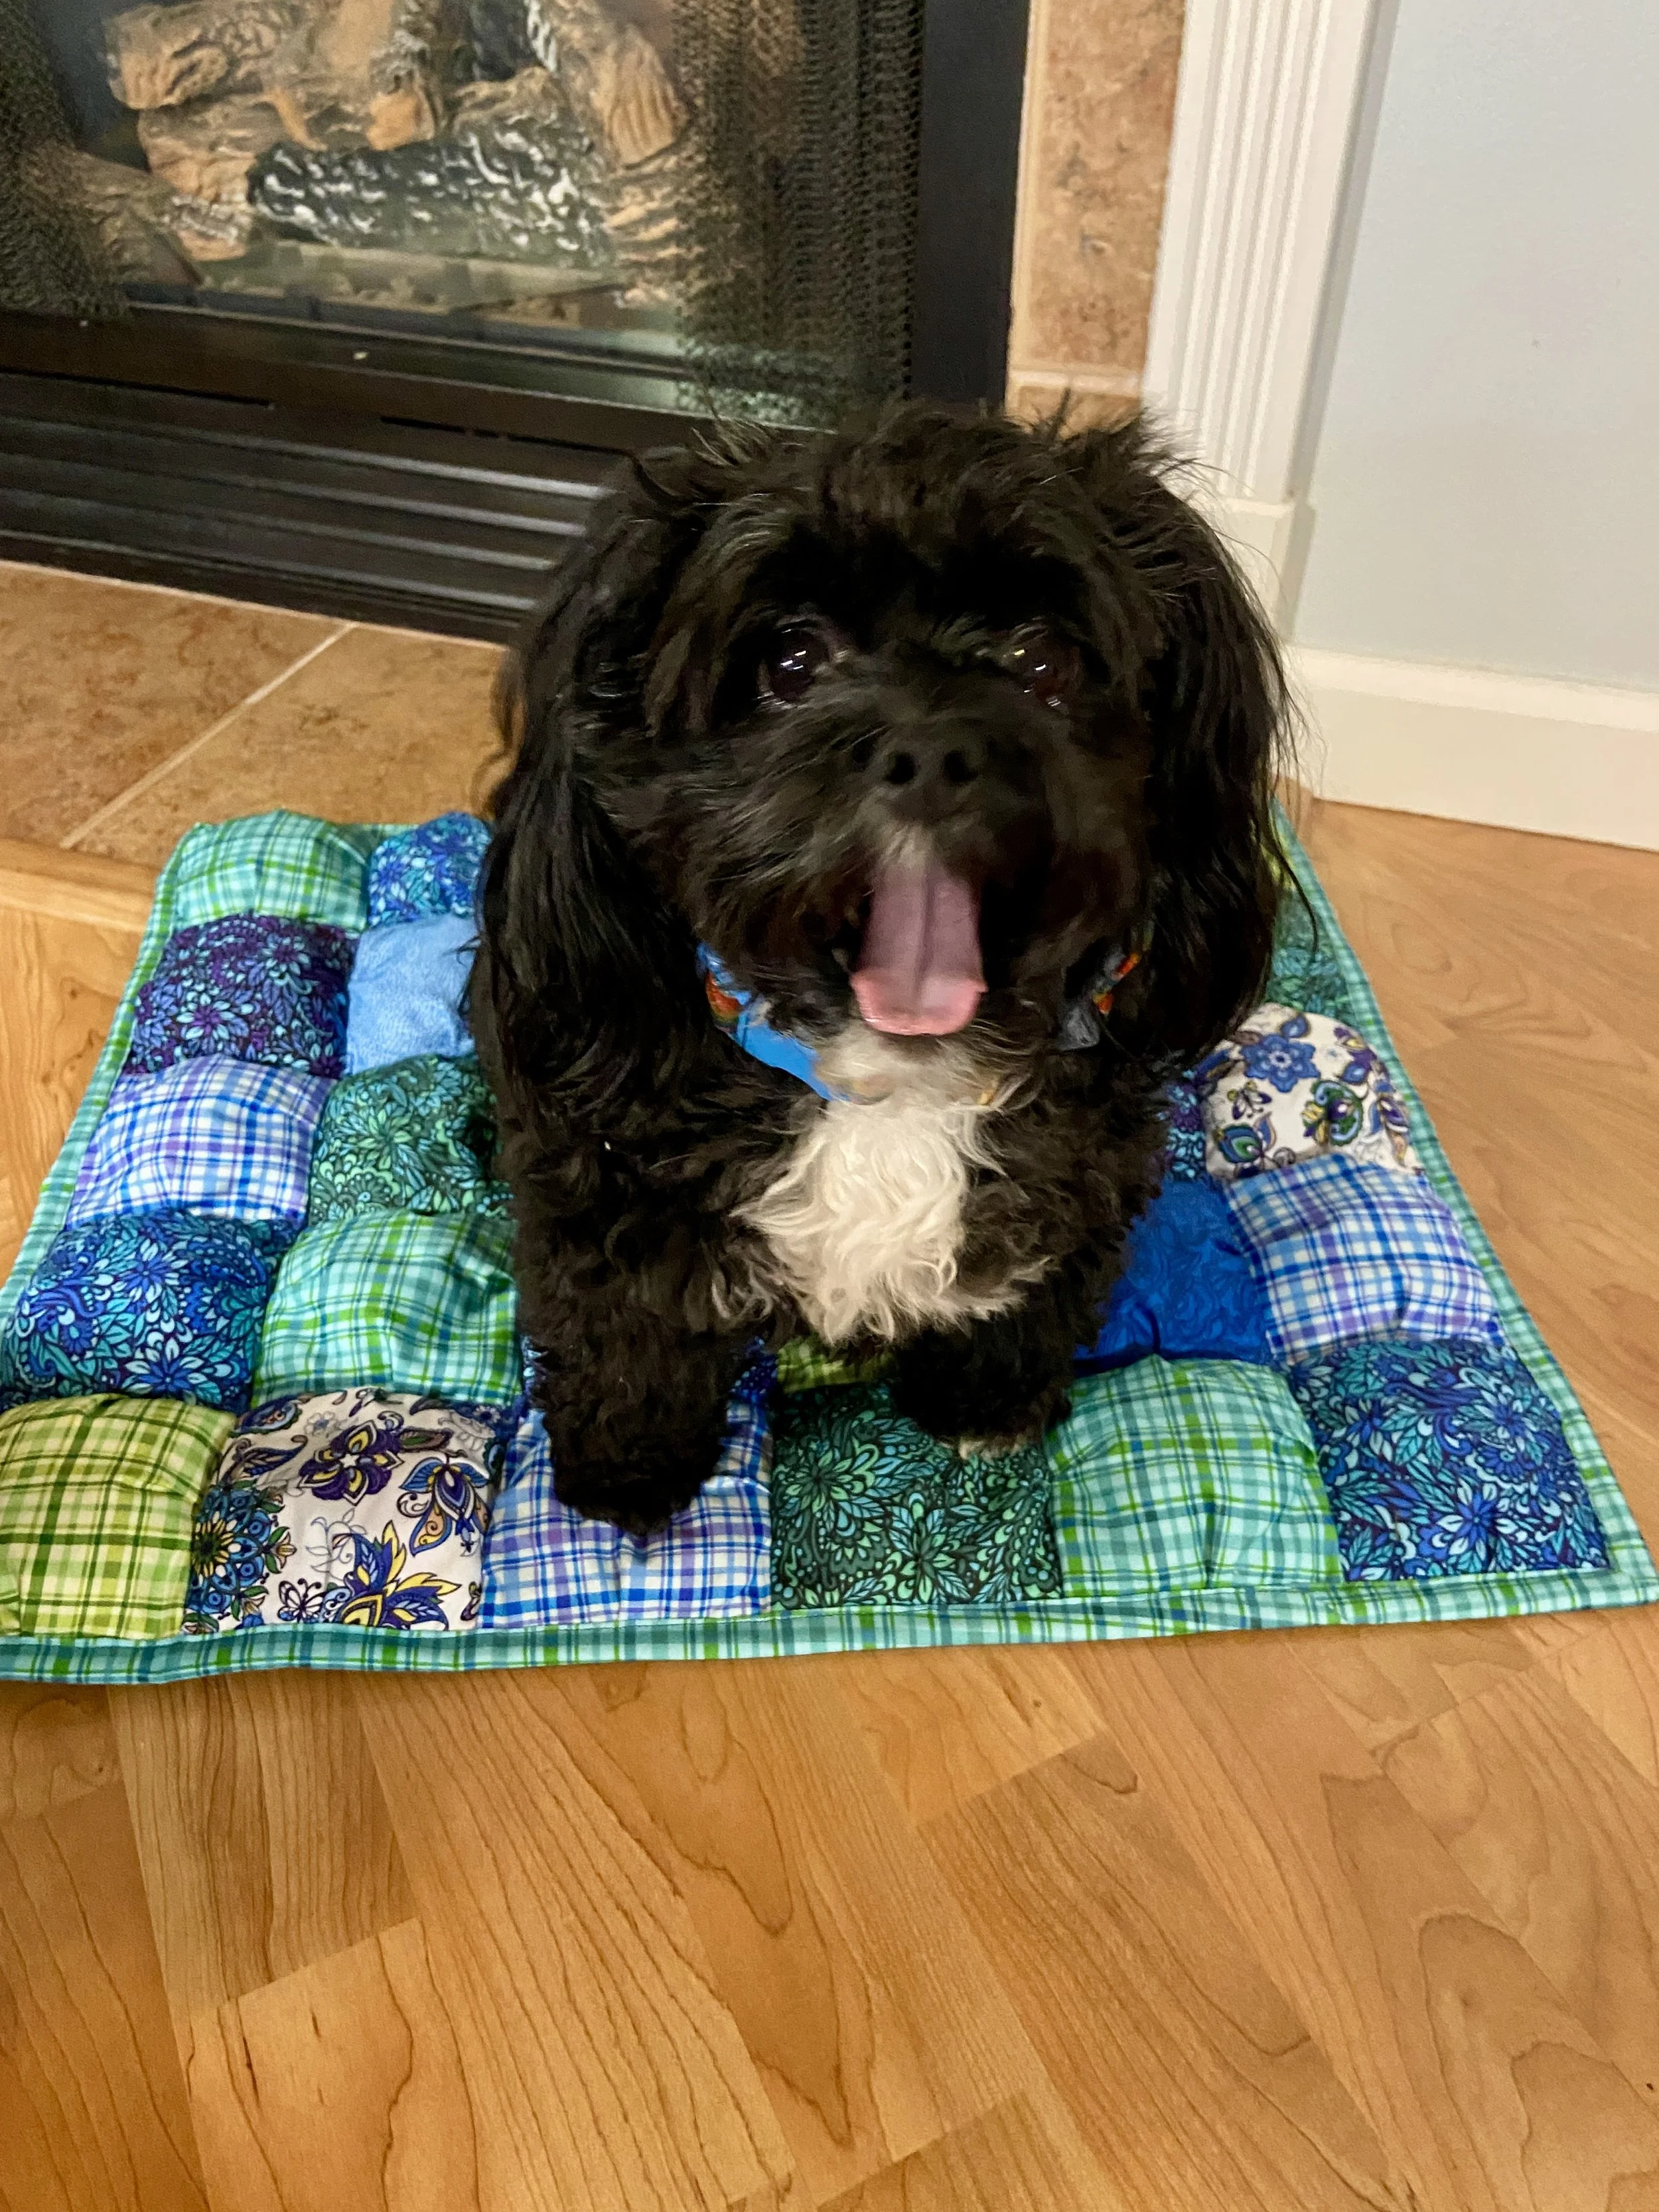
That’s it! You now have a new handmade puff quilt pet bed. Hopefully, your pet loves it as much as mine does!
My models were very food motivated to help with this photoshoot! Luckily you can’t tell too much that one was more of a spaz than the other!
Do you have any ideas for my next project? Let me know - send me a message on Instagram! @quarterlifeleap
#benartex #benartexfabrics #createinspiredelight #benartexbrandambassador


